
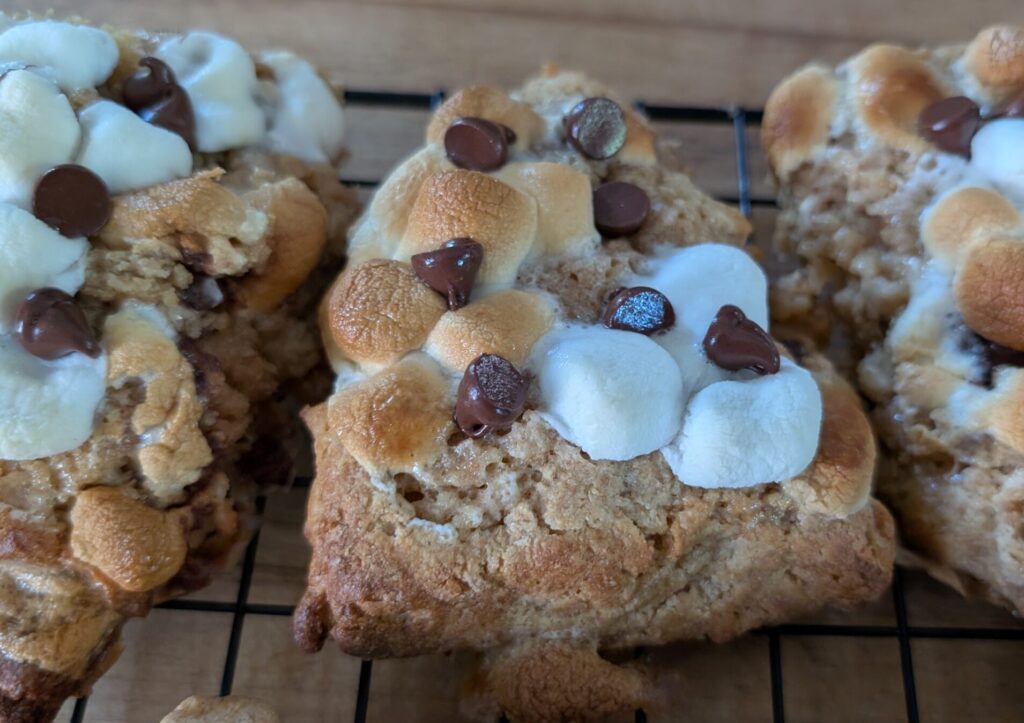
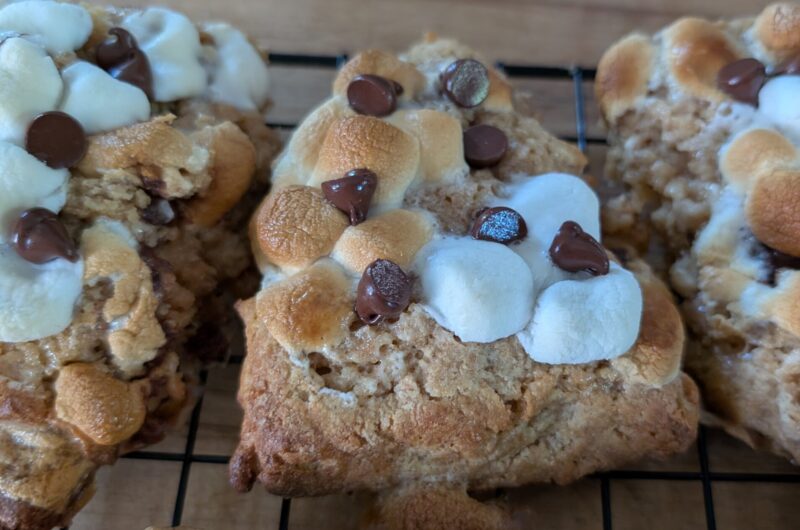
Warm summer nights, crackling campfires, and sticky fingers from melted chocolate and toasted marshmallows; those are the moments that inspired these S’mores Scones. They bring all the magic of childhood camping trips into a cozy, from-scratch treat made right in your own kitchen. Using freshly milled flour adds a rich, slightly nutty depth that makes each bite feel both wholesome and deeply satisfying.
Jump to RecipeWhy This Flour Blend?
To make an all purpose flour blend we want a moderate amount of protein for texture and mild grains so the flavor is not overpowering. I use equal parts Hard White, Soft White and Spelt. Khorasan can be substituted for Spelt without needing to adjust the hydration.
Using a mix of soft white wheat, hard white wheat, and Spelt or khorasan flour gives these scones a tender yet structured crumb. Soft white wheat lends softness and a delicate flavor, hard white adds strength and chew, and durum or khorasan contributes a subtle nuttiness and golden hue. This blend creates a scone that’s flaky, tender, with a little crunch in every bite!
Step-by-Step Instructions
Prepare Your Ingredients
Start by placing the butter, still wrapped, in the freezer for at least 30 minutes or until frozen solid. This is key to achieving flaky, tender scones.
In a medium sized bowl, combine the sugar, buttermilk and the egg. Set aside in the refrigerator to keep cold.
Mill your grains on the finest setting and chill the flour in the freezer for about 10 minutes. Keeping ingredients cold helps create a flaky texture.
Mix Dry Ingredients
In a large bowl, whisk together your flour, baking powder, and salt until well combined.
Incorporate the Butter
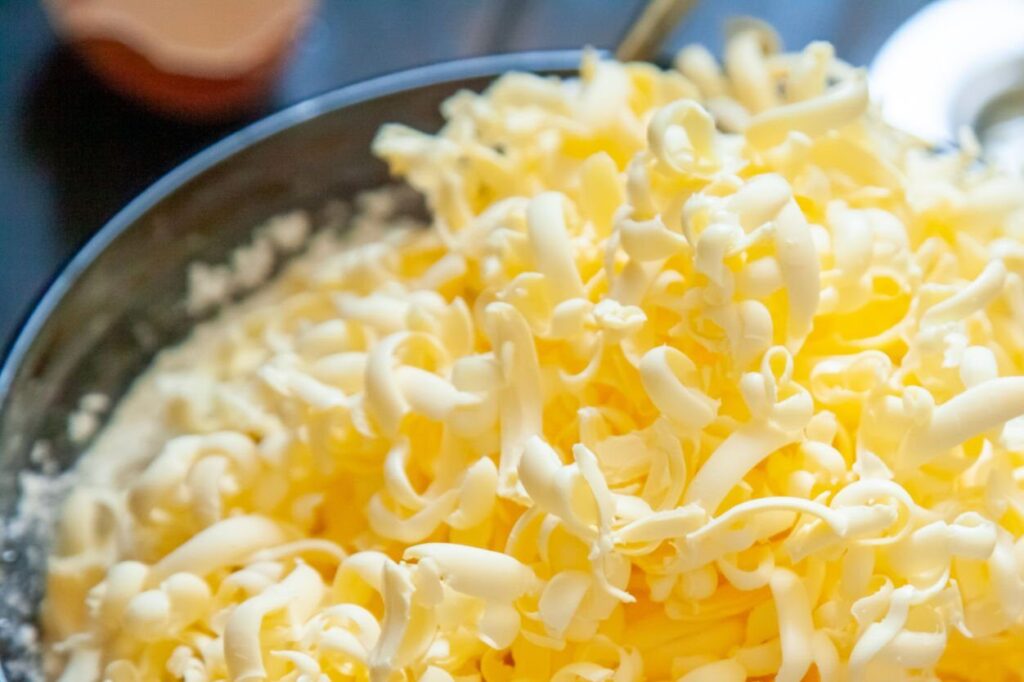
Using a cheese grater, grate the frozen butter directly into the flour mixture. Stir occasionally to prevent the butter from clumping and to coat the grated pieces with flour. This step is crucial for that tender, flaky crumb.
For large batches I pull out my food processor with the grater attachment. I can shred four sticks in under a minute!
Combine Wet and Dry
Pour the chilled wet ingredients into the dry ingredients. Using a spatula, gently fold everything together until just barely combined, no dry flour should remain. Be careful not to overmix, as this can toughen the scones.
For small batches: Add your chocolate chips now. If you are making more then 6 scones or multiple flavors I recommend the log rolling method of shaping below.
Chill the Dough
Cover the dough and chill it in the fridge for 15 to 30 minutes. This allows the flour to fully hydrate and the dough to firm up, making it easier to handle.
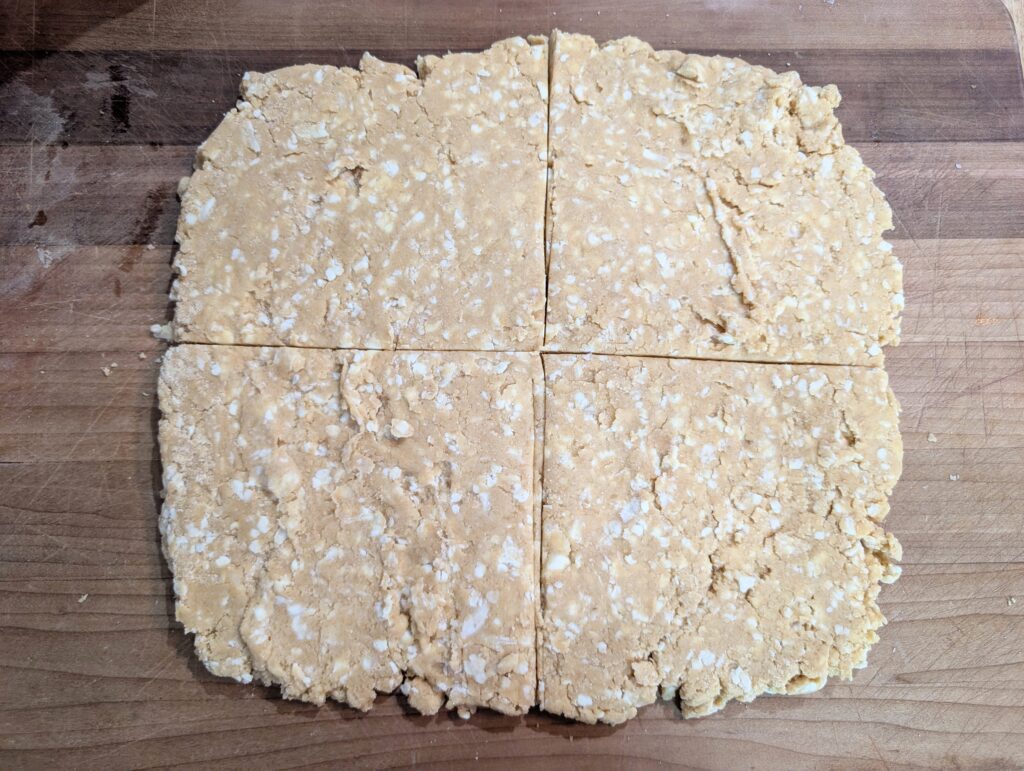
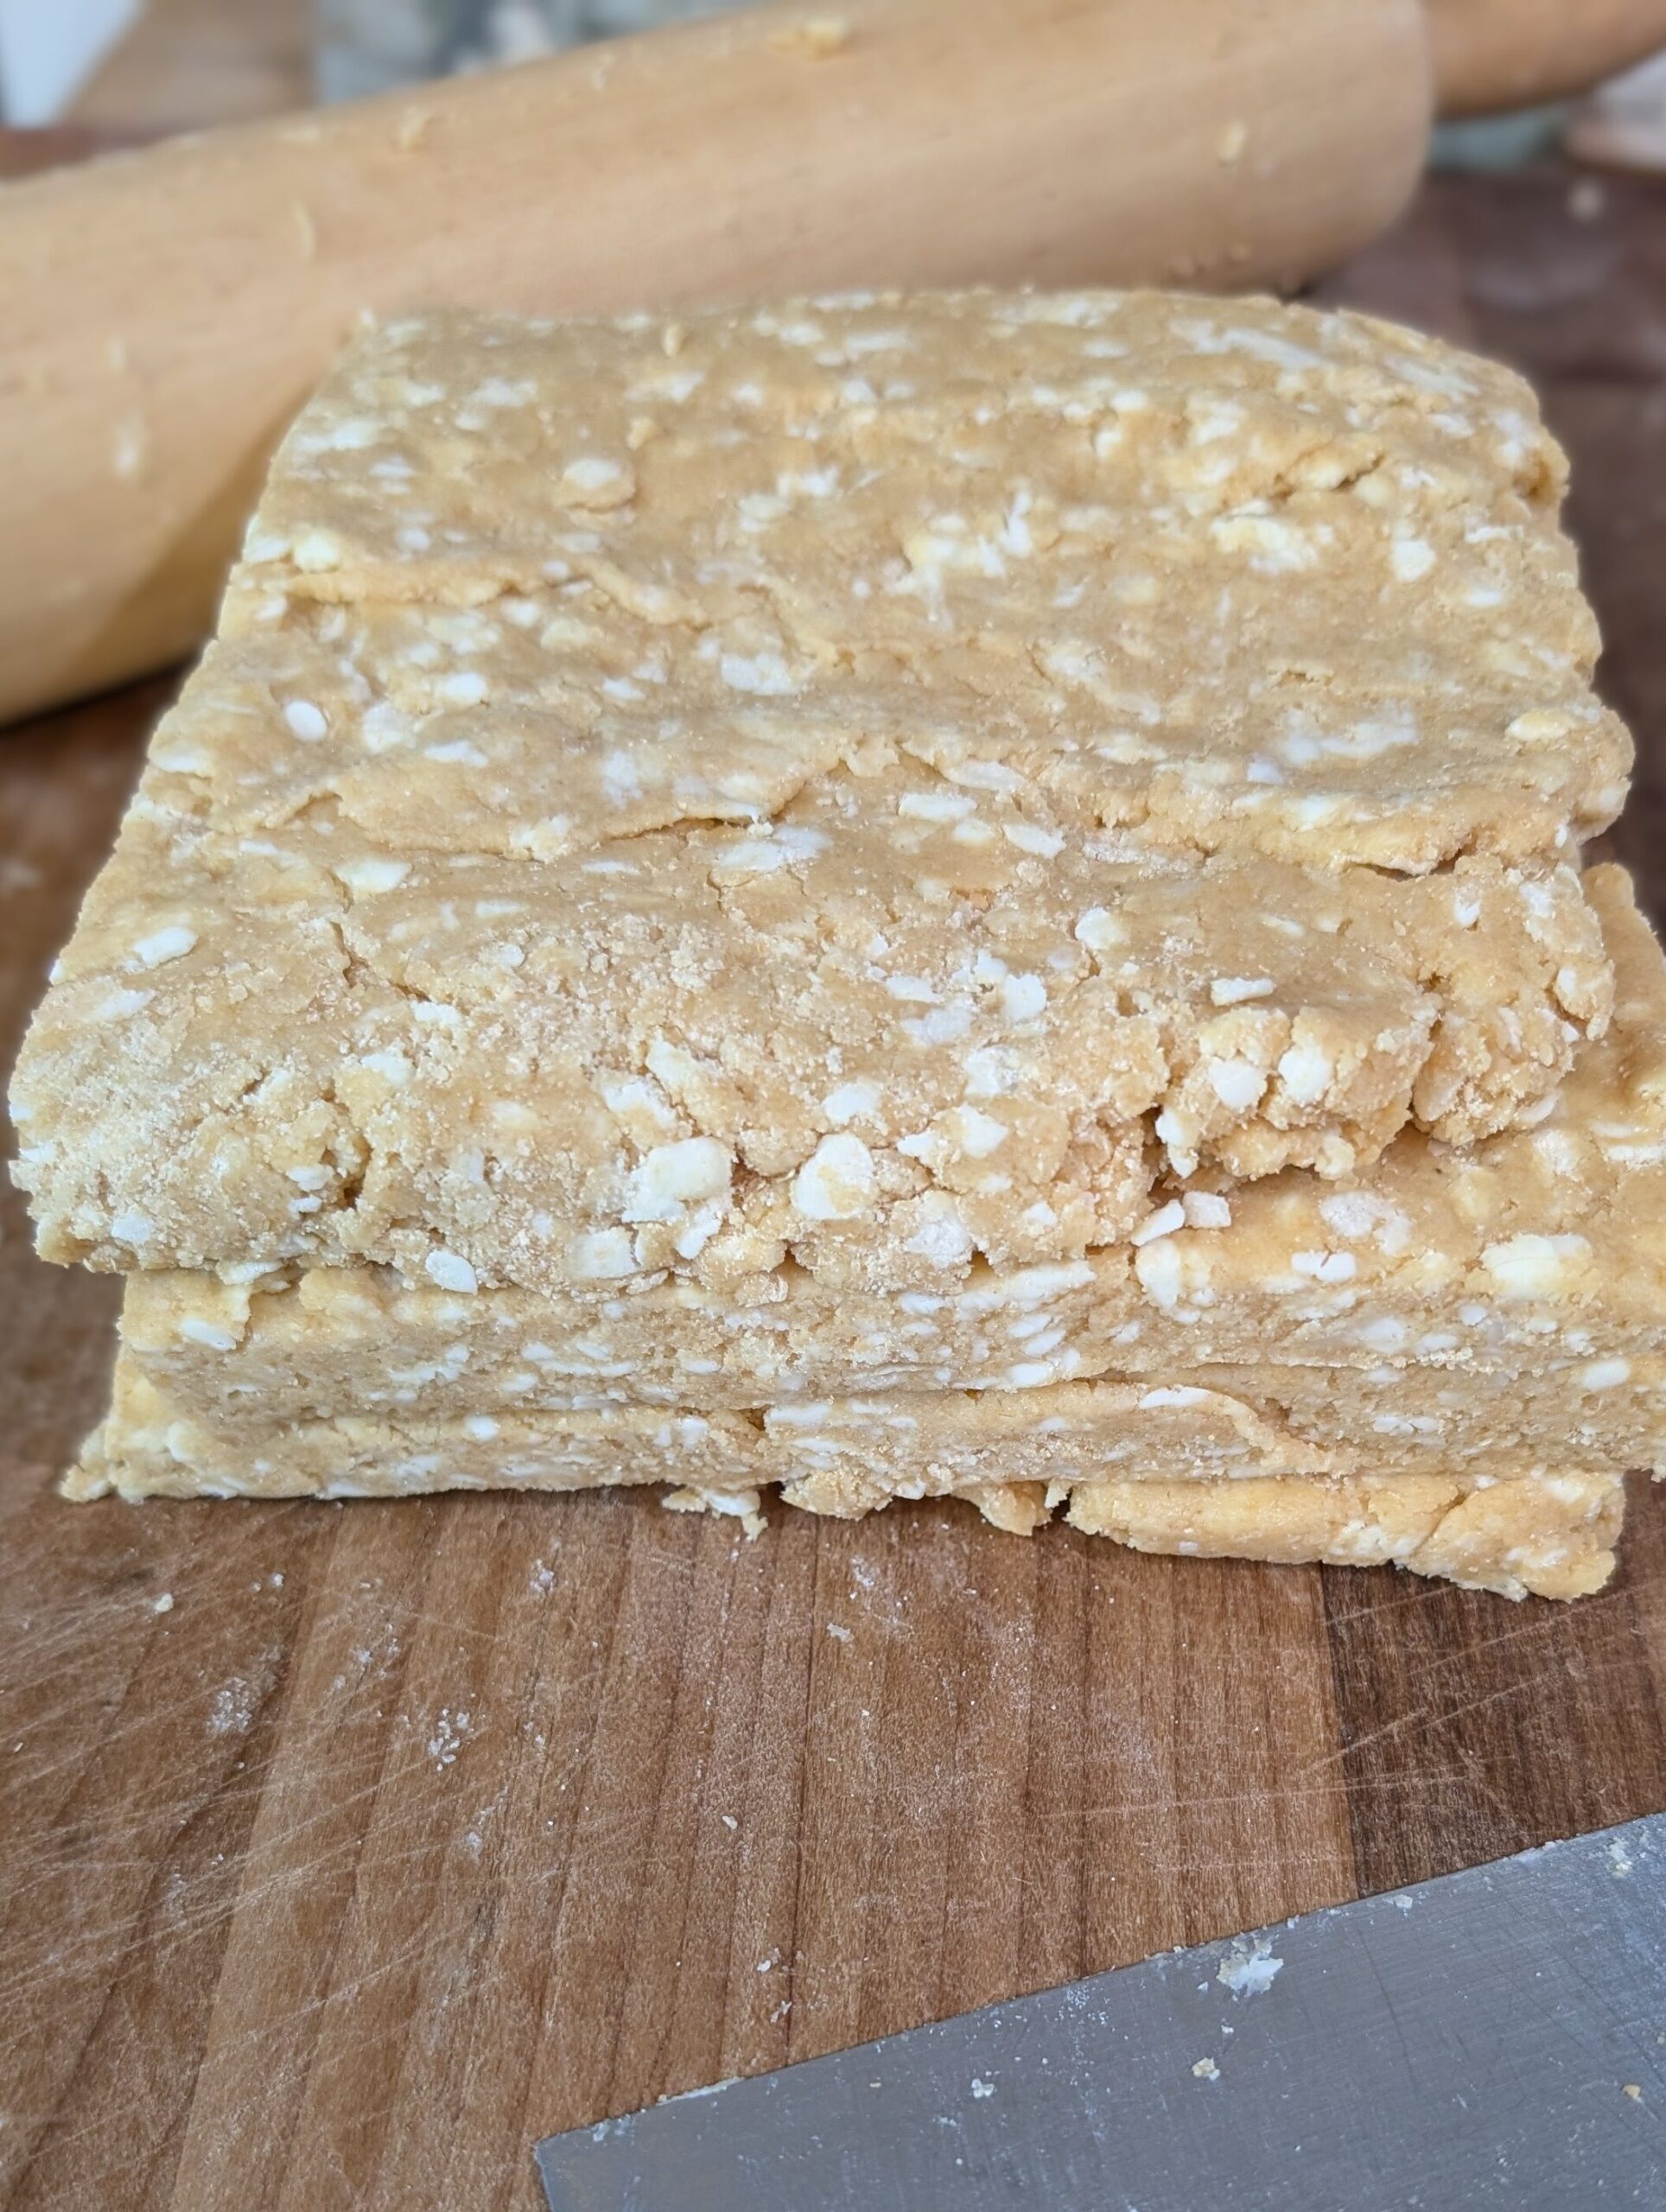
Laminate
Turn the dough onto a clean surface and roll it into a 1/2-inch thick rectangle. Cut into four squares, stack them, and press back into a rectangle. This simple lamination step creates those flaky layers.
Shape the Scones
For small batches: Press into an 8-inch round disk. Using a floured bench scraper or sharp knife, cut each round into 6 pie-shaped wedges. Place the wedges on a parchment-lined baking sheet, spacing them slightly apart.
If you are doing a large batch of scones and multiple flavors you can shape them a bit differently. Instead of pressing them into circles, roll out into a rectangle. sprinkle your fillings over the dough and roll it up like a cinnamon roll. Press the roll into a rectangle about 4-inches wide and 1.5-inches thick. The length is going to be determined by the size of your batch.

Note: with the log roll method, the ends will be about half the width of a normal scone. You can either have some tasty end cuts, press the two ends together into a larger but not as pretty scone, or taper the ends as you squash it. I prefer to taper it.
Make the Divots
Using your fingers or the back of a spoon, gently create a divot or well in the center of each scone. This will hold the marshmallows and chocolate chips in place so they don’t fall off when you bake them.
Freeze
Place on a baking sheet and freeze for at least 30 minutes, or up to 3 months for make-ahead convenience.
For long term storage, vacuum seal or use a freezer bag with as much air removed as possible.
Bake
When you are ready to bake, preheat your oven to 375°F. Mound as many mini marshmallows and chocolate chips as you can fit on each scone and bake from frozen for 30 minutes, or until golden brown.
Tips for Success
- Keep everything cold: Cold butter and chilled dough are essential for flaky scones.
- Don’t overmix: Mix until just combined to keep the texture light.
- Storage: Best stored frozen unbaked. For already baked scones; store scones in an airtight container at room temperature for 2 days or freeze for up to a month.
Final Thoughts
As much as we grow, there’s something special about holding onto those simple moments that made childhood summers feel endless. These S’mores Scones are a small way to bring that feeling back whether it’s for your own quiet morning or shared around the table with the people you love. Baking them from scratch with freshly milled flour adds not just flavor, but intention, turning a nostalgic treat into something both meaningful and nourishing.
So go ahead and brew a cup of coffee, break one open while it’s still warm, and let it take you back, even just for a moment.
Happy Baking!
If you try this recipe, I’d love to hear how it turns out. Feel free to share your photos and tips in the comments below!
Lemon Poppy Seed Scones with Freshly Milled Flour
Course: Appetizers, DessertCuisine: AmericanDifficulty: Intermediate6
scones1
hour30
minutes1
hour25
minutesWarm summer nights, crackling campfires, and sticky fingers from melted chocolate and toasted marshmallows; those are the moments that inspired these S’mores Scones. They bring all the magic of childhood camping trips into a cozy, from-scratch treat made right in your own kitchen. Using freshly milled flour adds a rich, slightly nutty depth that makes each bite feel both wholesome and deeply satisfying.
Ingredients
- Scones:
100g soft white wheat
100g hard white
100g spelt or Khorasan
12g baking powder (1Tbsp)
3g salt (1/2tsp)
1 stick butter, frozen
99g sugar
125g buttermilk
1 egg
3/4c chocolate chips plus more for garnishing
1 packed cup mini marshmallows
Directions
- Mill your wheat on the finest setting. If desired, sift out the bran and germ for a lighter texture. Chill in the freezer until cold.
- In a bowl, combine sugar, buttermilk and egg. Place it in the refrigerator to stay cold.
- Combine the cold flour, baking powder, and salts
- Grate the frozen butter into the flour mixture, tossing gently as you go to coat the pieces evenly.
- Add the sugar, buttermilk, beaten egg mixture, mixing very briefly, just until the dough comes together. Be careful not to overmix. You can add the chocolate chips at this time unless you are making multiple flavors with one batch of dough.
- Refrigerate the dough for 30 minutes.
- Turn the dough onto a clean surface and pat it into a 1/2-inch rectangle. Cut into four squares, stack them, and press back into a rectangle. This simple lamination step creates those flaky layers.
- Press the dough into a circle about 8 inches across. Cut it into six pie shaped wedges. Alternatively, use the log shaping method.
- Using your fingers or the back of a spoon, create a divot or well in the center of each scone. This will hold the marshmallows from sliding off as they bake.
- Place on a baking sheet and freeze for at least 30 minutes, or up to 3 months for make ahead convenience.
- When ready to bake, preheat your oven to 375°F. Mound the top with as many marshmallows as you can and bake from frozen for 30 minutes, until golden brown.
- Garnish with more chocolate chips while they are still warm and enjoy!
Notes
- **If you are making a large batch of scones I recommend doing the log shaping method in the step by step instructions above. This will allow you to shape all the scones at once instead of making multiple circles.
- All Purpose Flour Blend. To make an all purpose flour blend we want a moderate amount of protein for texture and mild grains so the flavor is not overpowering. I use equal parts Hard White, Soft White and Spelt. Khorasan can be substituted for Spelt without needing to adjust the hydration.
- Long Term Storage. Place the scones onto a baking sheet or silicone mat after shaping. Freeze for 30 minutes. Transfer from the baking sheet to freezer bags and remove as much air as possible or vacuum seal.
*nutrition facts are an estimate and should not be used to make medical decisions.
Nutrition Facts
6 servings per container
Serving Size1 scone
- Amount Per ServingCalories580
- % Daily Value *
- Total Fat
24g
31%
- Saturated Fat 15g 75%
- Trans Fat 0g
- Cholesterol 70mg 24%
- Sodium 440mg 20%
- Total Carbohydrate
83g
31%
- Dietary Fiber 6g 22%
- Total Sugars 28g
- Protein 11g 22%
* The % Daily Value tells you how much a nutrient in a serving of food contributes to a daily diet. 2,000 calories a day is used for general nutrition advice.