
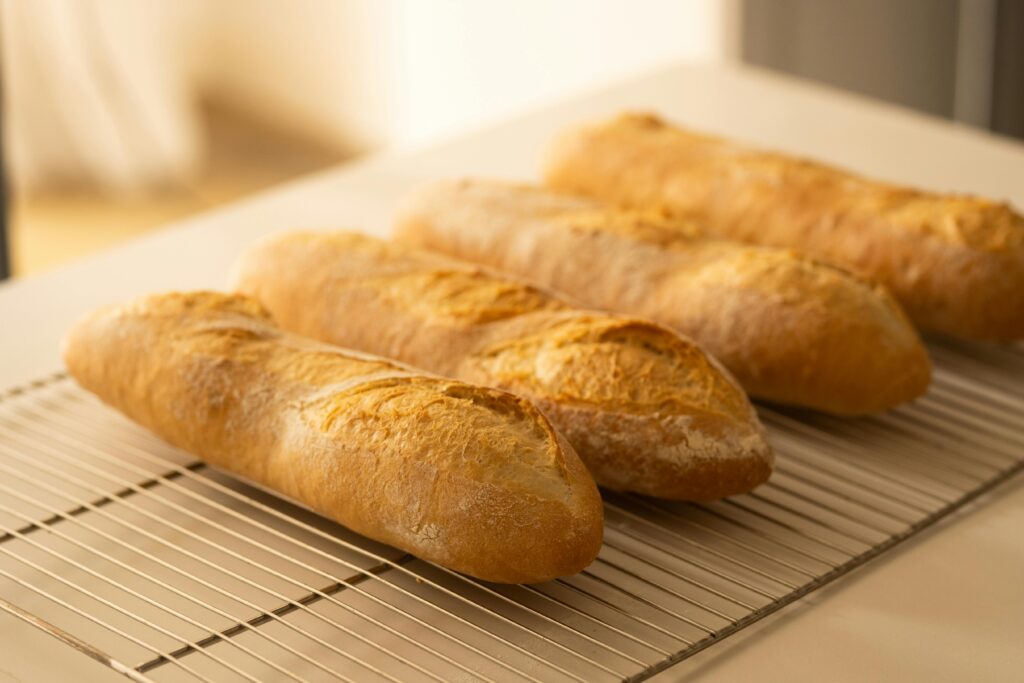
Crispy, golden-brown crust and a chewy interior, these Baguettes using freshly milled flour are divine! Looking for the perfect appetizer? Pair these baguettes with my Bruschetta recipe for a fresh and light starter to any meal.
Jump to RecipeUnlock the Secret to Baguette Perfection
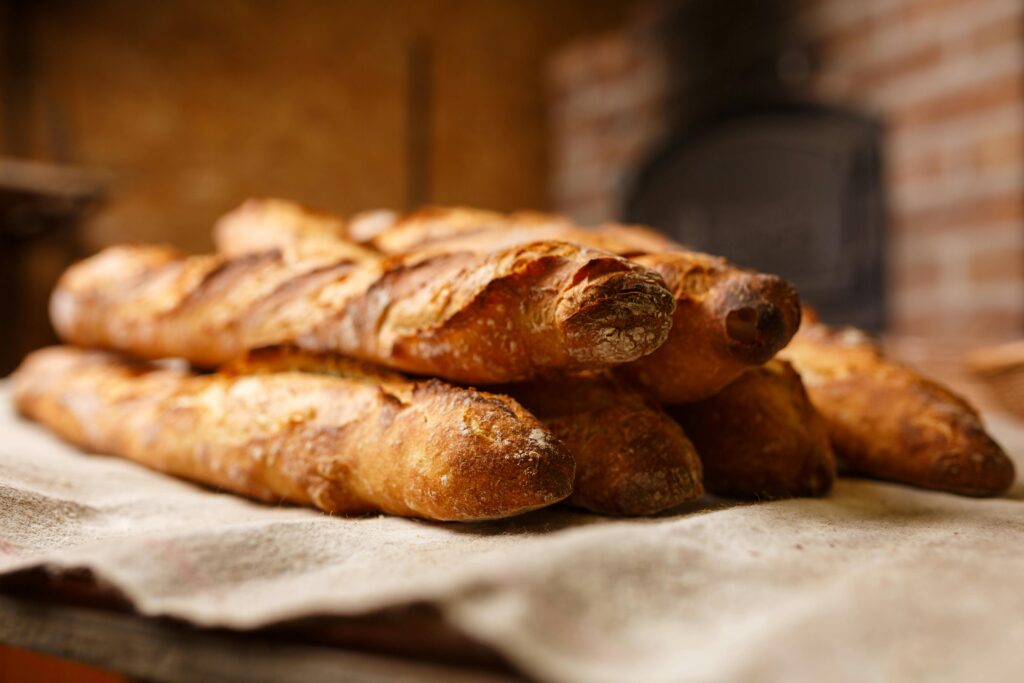
Those crusty, iconic symbols of French baking. Ever dreamt of pulling a perfectly golden, airy loaf from your oven? It’s easier than you think! Today, we’re demystifying the baguette-making process, ditching overly complex methods and focusing on a straightforward approach that delivers incredible results.
The Magic of Three: A Flour Blend for Superior Flavor
While classic baguettes often call for a single type of flour, we’re taking a different approach. By strategically blending three different wheat flours, we’re able to harness the unique benefits of each:
- Hard Red Wheat (40%): Offers a substantial protein content (12-15%) and strong gluten development (31-34.4% wet gluten). This contributes to the baguette’s structure and chewy texture. The higher water absorbency (65%) aids in creating an open crumb.
- Hard White Wheat (40%): With its slightly lower protein (10.3-13.6%) and wet gluten (28.2-35.4%) than hard red, this balances the dough. Its water absorbancy of 64% complements the hard red.
- Durum Wheat (20%): Boasting a protein content (12-15%) and notable wet gluten (31.7-33.8%), this wheat lends a distinctive golden hue and enhanced chew. Though slightly lower in water absorbency at 59%, its unique qualities make it an ideal component to the blend.
If you are not a fan of the earthier flavor Hard Red Wheat brings you can use just the Durum and Hard White. Use Hard White in the Poolish and 300g Hard White and 200g Durum in the dough. I would not recommend removing the Durum as the gluten development will be too low.
From Simple Ingredients to Sublime Baguettes
Ready to transform flour, water, salt, and yeast into crusty, aromatic baguettes? Let’s get started!
Timeline for Baguettes
This is a basic timeline for baguettes just to give you an idea of how the timing work. You can absolutely adjust the timing to your needs.
8:00PM The Night Before

Mix the Poolish
Combine the poolish ingredients and allow to rest overnight or until it has tripled in size.
8:00 AM

Autolyse
Combine the flour for the dough and the water. Autolyse for 30 minutes.
8:30 AM
Mix the Dough
Combine the Poolish, Autolysed dough and the remaining ingredients. Mix well and begin bulk fermentation.
9:00 AM
Stretch and Fold
Stretch and fold the dough every 30 minutes for 1.5 hour. 3 total. Allow to finish rising, undisturbed, until doubled in size. 3-4 hours
12:30 PM
Shape
Pre-shape the baguettes and rest for 20 minutes. Shape and rise about 50%. 60-90 minutes. Preheat the oven about 30 minutes before the baguettes are done proofing with the baking steel inside.
2:30 PM
Bake
Bake the baguettes.
Step by Step
Prepare the Poolish (4-6 hours)
Using a poolish in your baguette recipe is highly recommended if you want to enhance the flavor, aroma, texture, and shelf life of your bread. Poolish is a type of preferment made with equal parts flour and water (by weight) plus a small amount of yeast, and it is allowed to ferment for several hours before being incorporated into the final dough.
Alternatively you can use sourdough as the preferment! This recipe is for yeast but if you are interested in a sourdough baguette that recipe will be posted soon so follow me on Instagram or Facebook to be updated when it hits the website!
To make the poolish, combine 1/8tsp yeast, 65g warm water and 60g hard red wheat. Mix well and cover loosely. Place the poolish in a warm spot overnight.
The Autolyse (30 minutes – 1 hour)
In a large bowl, you’ll begin by combining all the flours; the hard red wheat, the hard white wheat, and the durum wheat; with the water. Gently mix these ingredients until they are just combined; you’re not aiming for a smooth dough at this stage, just ensuring all the flour is moistened and there are no dry clumps remaining. Once mixed, cover the bowl and let it rest for 30 minutes to 1 hour.
This resting period, known as the autolyse, is crucial because it allows the flour to fully hydrate. During this time, the water is absorbed evenly throughout the flour particles, which kickstarts enzyme activity and gluten development. This results in a dough that is more extensible (easier to stretch) and has an improved flavor profile, ultimately contributing to a better texture and rise in your baguettes.
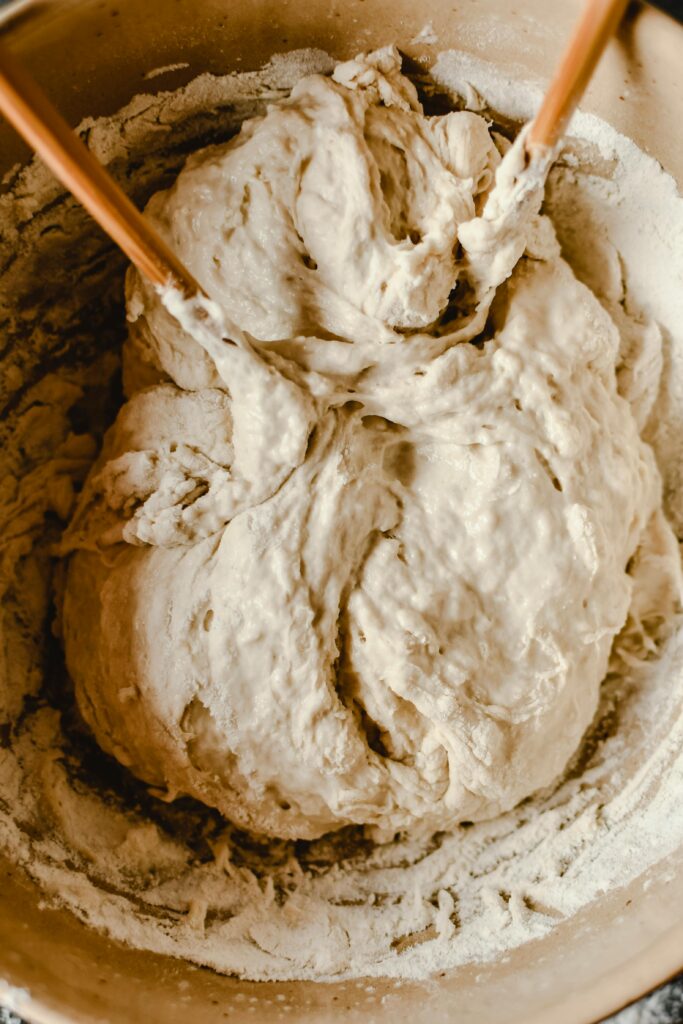
Mixing the Dough (5-7 minutes)
After the autolyse, it’s time to incorporate the poolish and the remaining ingredients. Add the salt and yeast to the autolysed mixture. Add in all of the poolish mixture. With your mixer set to low speed, combine everything until it creates a smooth, cohesive dough. Or just mix well by hand.
The Bulk Fermentation: Building Flavor and Structure (3-4 hours)
Once mixed, transfer the dough into a straight sided container. Mark the level of the dough to track the rise. If you don’t have a container with tall, straight sides a clear plastic water pitcher with straight sides can work but a wider container will make it easier to stretch the dough.
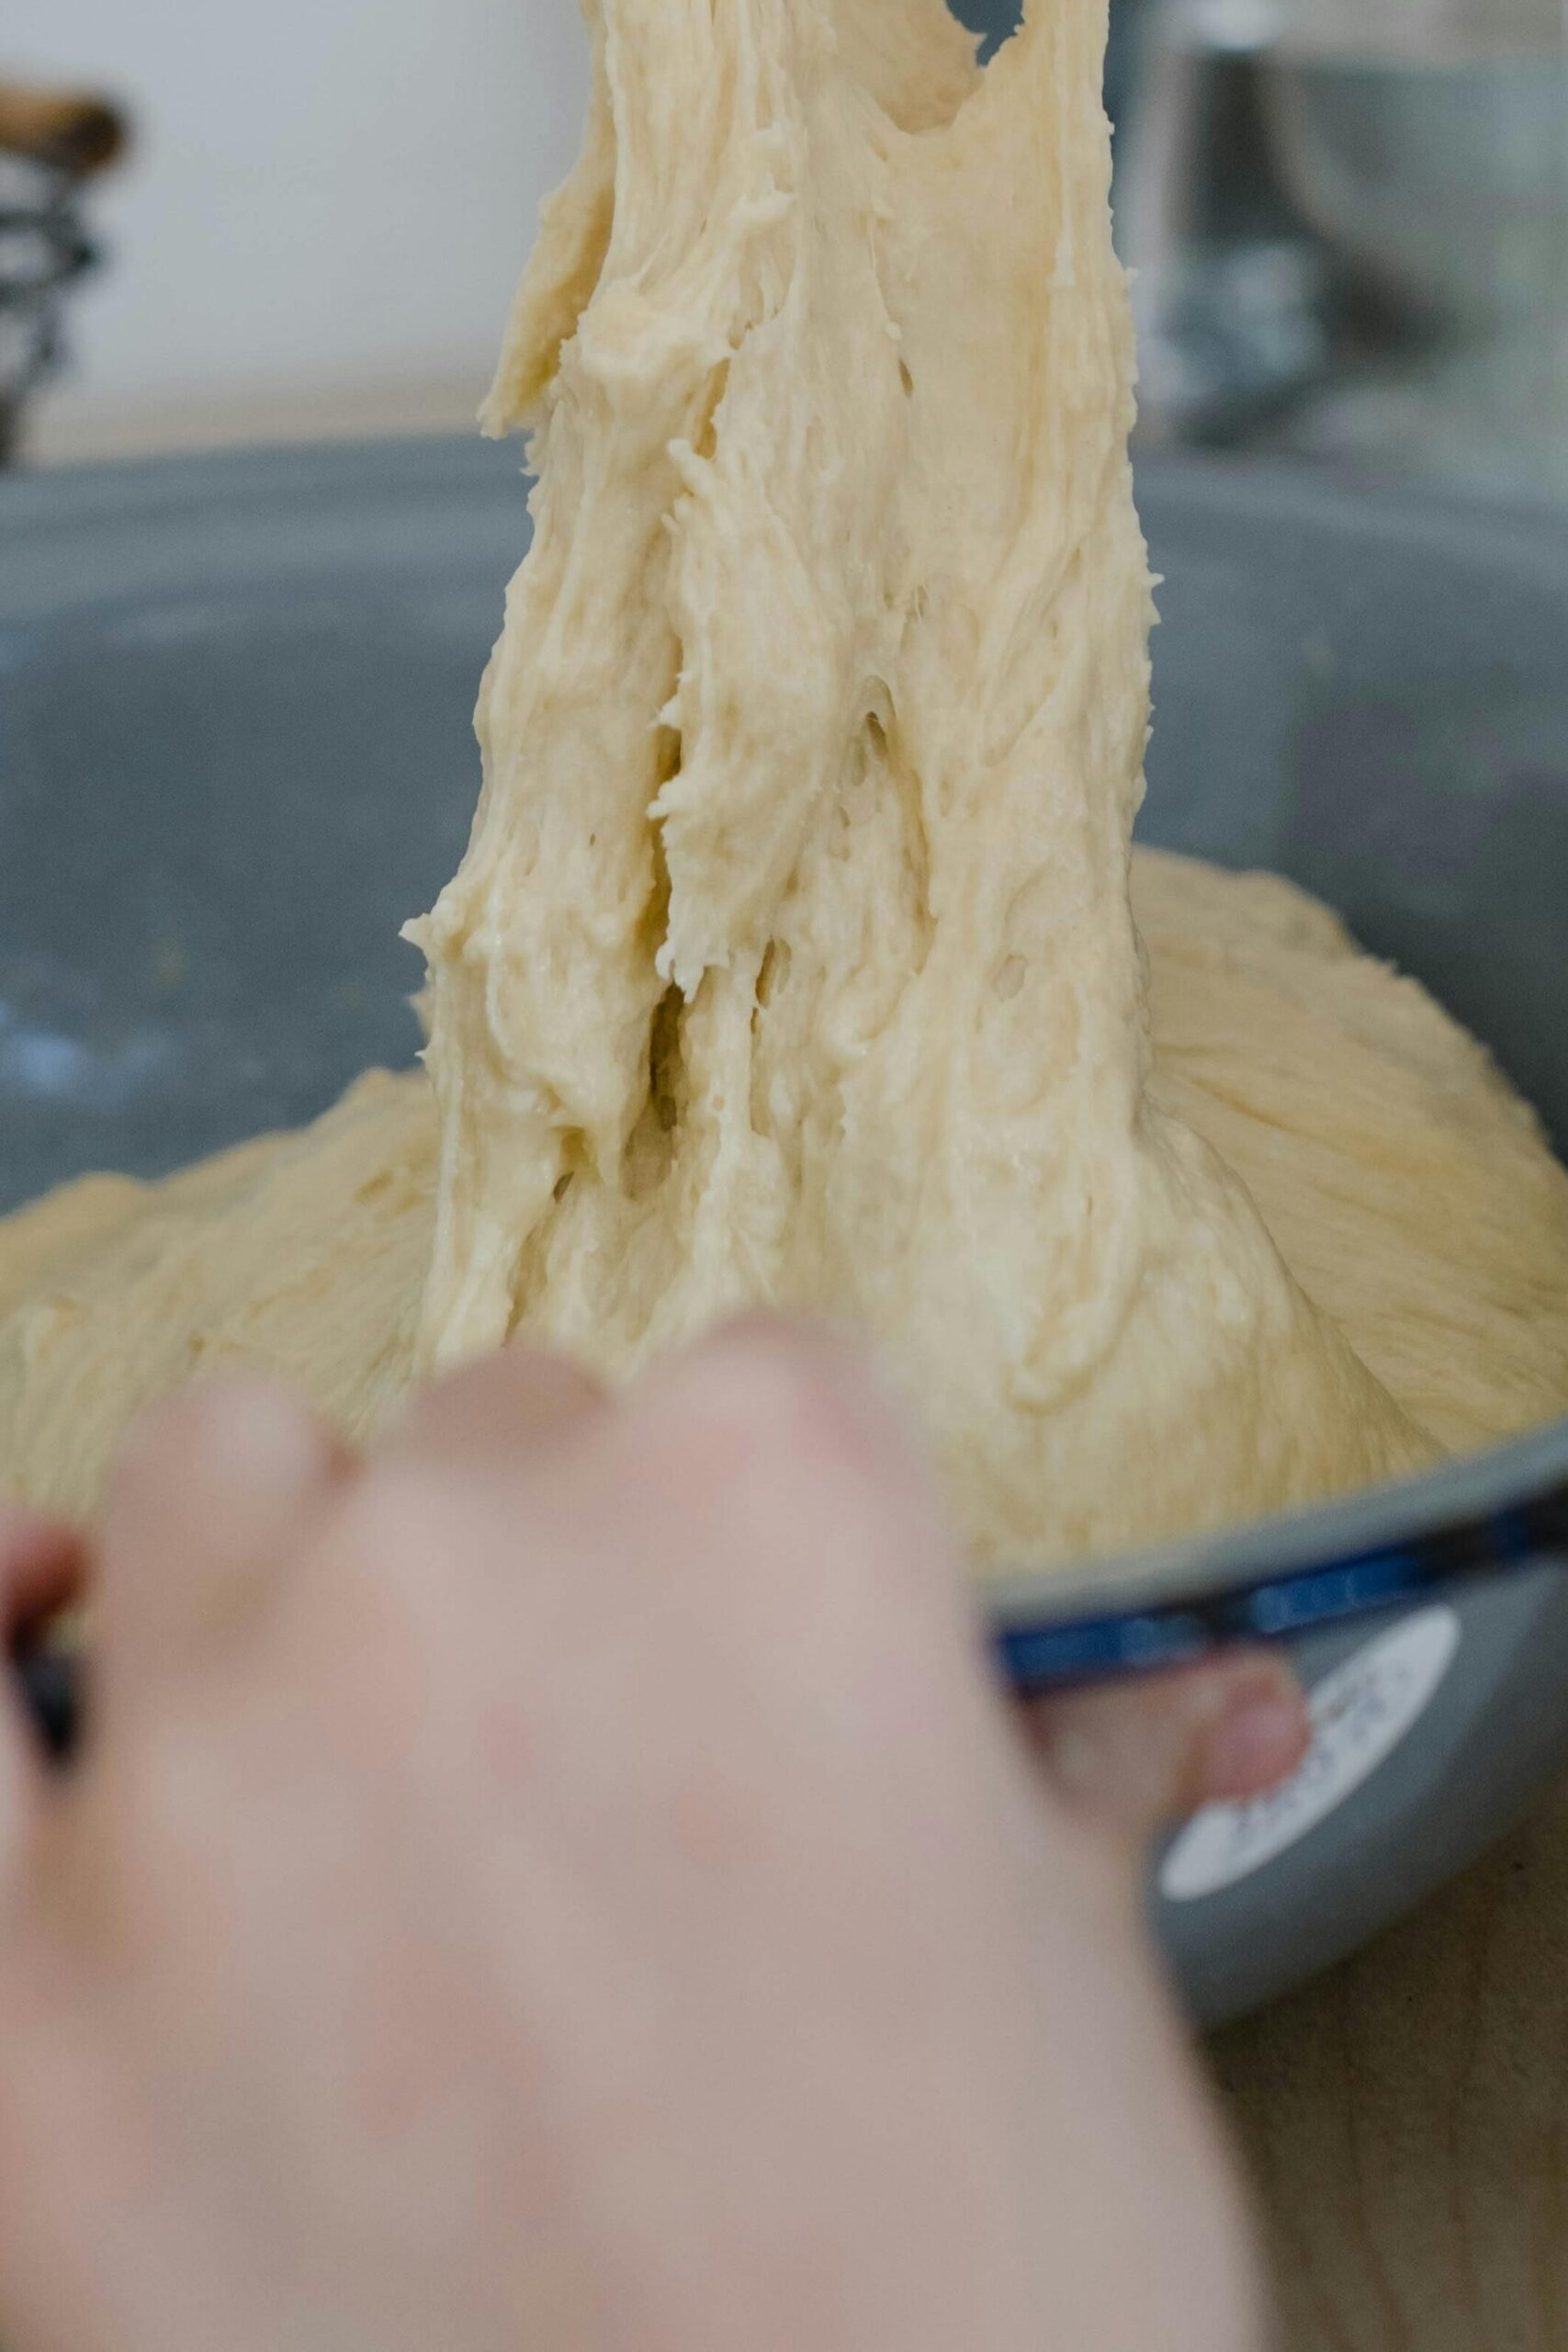
Cover the bowl to maintain moisture and allow the dough to undergo bulk fermentation. During the first 1.5 hours of this fermentation process, it’s essential to perform stretch and folds every 30 minutes. Be extremely gentle with the dough as we do not want to pop any of the bubbles that are forming.
These stretch and folds are not just about manipulating the dough; they serve a crucial purpose. By gently stretching a portion of the dough upwards and folding it over the center, you are realigning the gluten strands, which strengthens the dough’s structure. This also helps to evenly distribute the gases produced by the yeast throughout the dough, promoting a more consistent rise.
After these initial stretch and folds, allow the dough to continue fermenting, undisturbed, for the remaining time, until it has nearly doubled in size. This extended fermentation period is vital for developing the complex flavors that will characterize your final baguettes.
Divide and Pre-Shape (15-20 minutes Rest)
Gently turn the fermented dough onto a lightly floured surface to prevent sticking. Using a dough scraper or a sharp knife, divide the dough into 4 equal portions. Once divided, pat and stretch each piece into a six inch square. Roll it gently into a cylinder using a bench scraper if needed for sticking. Cover with a towel and rest for 20 minutes seam side up.
The goal here is not to create the final baguette shape, but to simply gather the dough into a manageable form that will make the final shaping process easier. Cover the pre-shaped dough pieces with a damp cloth or plastic wrap and allow them to rest for 15-20 minutes. This resting period allows the gluten in the dough to relax, making it more pliable and easier to shape without tearing or snapping back.
Shape the Baguettes
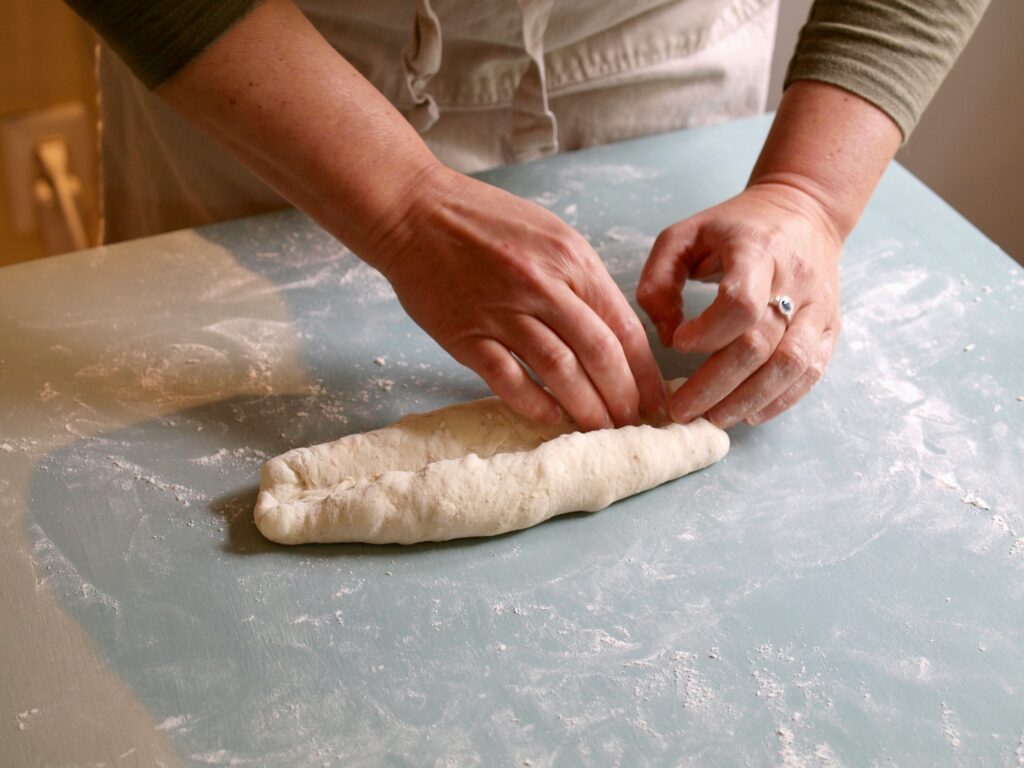
With the seam side up, stretch and flatten the dough into a rectangle once again. This time we do want to pop any large bubbles. Fold the top third of the dough down, leaving the bottom third open. Now fold the bottom up and over, forming a letter fold. Next we are going to fold the top of the dough down in half, gently pinching the dough together.
Next, we will VERY gently roll the folded dough into a long 12-15 inch snake, tapering the ends. Do not press hard on the dough. Allow the gentle rolling motion to do all the work.
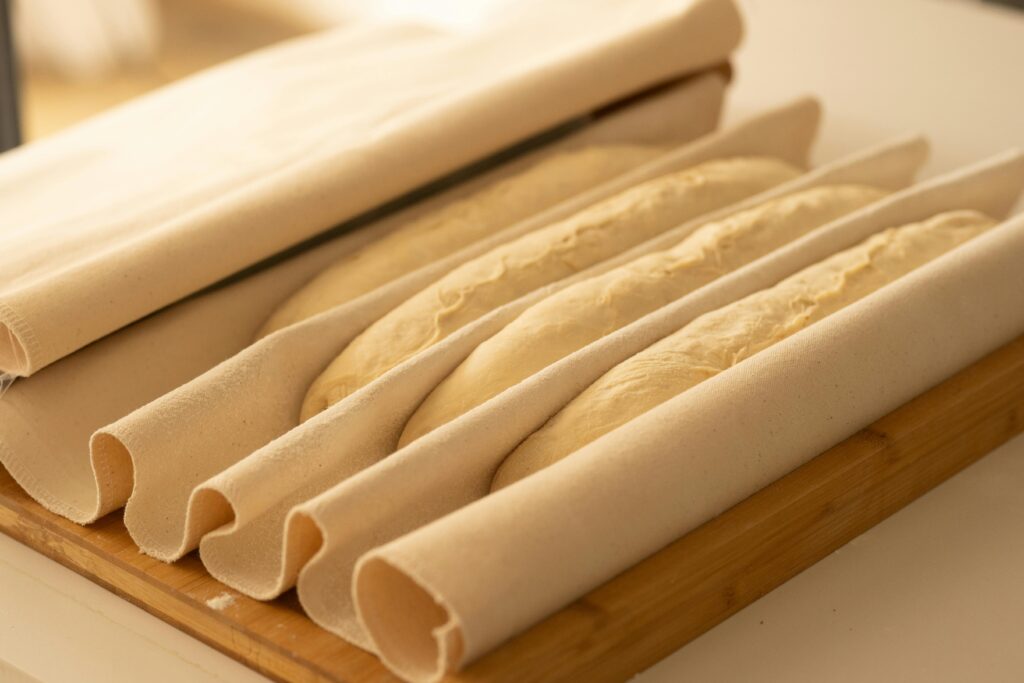
Proofing: The Final Rise (60-90 minutes)
Heavily dust a linen towel with rice or semolina flour. Place one of your baguettes in the center of the towel, using a thin board or baguette peel to gently roll the dough onto, and transfer. We want to be extremely gently with handling the dough. Place it seam side up. Pleat the edge up the fabric up, creating a wall. Place the next baguette up against this wall. Repeat on the other side. Cover and rest for 60-90 minutes. The baguettes should rise about 50% and spring back slowly leaving an indent behind.
Baking
As the baguettes are nearing the end of their proofing time, preheat your oven to a high temperature of 500°F, placing a baking stone or steel on the middle rack and a steam tray at the bottom of the oven. The baking stone or steel will help to create a crispy crust, while the steam will promote oven spring and a chewy interior.
If you do not have a baking steel, place a large, heavy baking sheet upside-down on your oven rack.
When it is time to bake, one at a time, roll the baguette onto your peel or board so the seam side is down. Score deeply at a 30 degree angle, three to five times, moving quickly to cut rather then tear the dough.
These scores, known as the “signature,” not only add an aesthetic touch to the baguettes but also allow them to expand properly during baking, preventing them from bursting or cracking unevenly.
Carefully transfer the scored baguettes onto the preheated baking stone or steel in the oven. Pour one cup of hot water into the steam tray at the bottom of the oven to create a burst of steam, then quickly close the oven door to trap the moisture.
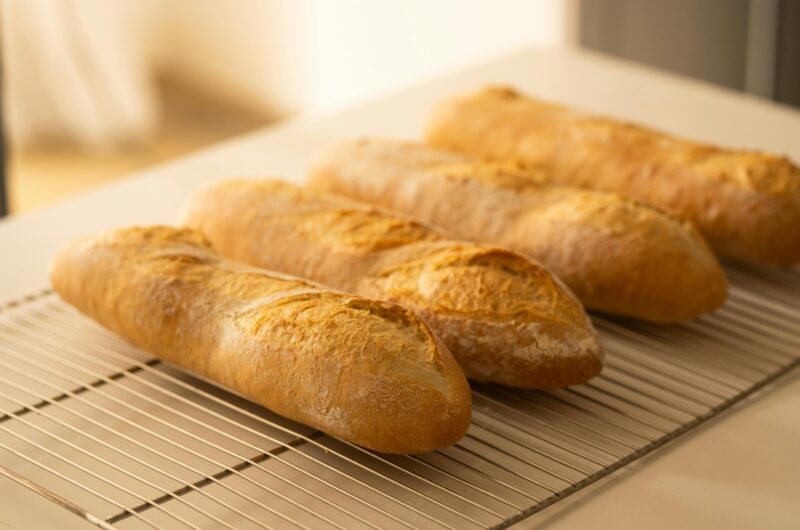
Bake the baguettes for 10 minutes. Quickly open the door to vent the steam then reduce the oven temperature to 450. Continue to bake for 10-15 minutes or until they are golden brown and sound hollow when tapped on the bottom. The internal temperature should read 200 degrees on a probe thermometer.
Baguettes
Course: AppetizersCuisine: FrenchDifficulty: Intermediate4
Baguettes8
hours25
minutes6
hours30
minutes14
hours55
minutesCrispy, golden-brown crust and a chewy interior, these Baguettes using freshly milled flour are divine! Looking for the perfect appetizer? Pair these baguettes with my Bruschetta recipe for a fresh and light starter to any meal.
Ingredients
- Poolish
1/8 tsp Yeast
65g Water
60g Hard Red Wheat Flour
- Dough
200g Hard Red Wheat Flour
200g Hard White Wheat Flour
100g Durum Wheat Flour
450g Water
10g Salt
1/2 tsp Instant Dry Yeast
Directions
- In a small mason jar or pint sized container, mix the poolish ingredients. Set in a warm spot and allow to rise overnight.
- In a large bowl, combine the hard red wheat flour, hard white wheat flour, durum wheat flour, and water. Mix until just combined, ensuring no dry flour remains.
- Cover and let rest for 30 minutes to 1 hour.
- Add the poolish, salt and yeast to the autolysed dough. Mix until all ingredients are thoroughly incorporated. Place the dough in a straight sided container and mark the level of the dough.
- Perform stretch and folds every 30 minutes for the first 1.5 hours (3 sets total) to develop strength.
- Allow the dough to bulk ferment for a total of 3-4 hours at room temperature, or until it has doubled in size.
- Gently turn the dough out onto a lightly floured surface. Divide the dough into 4 equal pieces. Pre-shape each piece into a rough rectangle then roll it into a loose cylinder. Let rest for 15-20 minutes, seam side up.
- Shape each piece by gently patting back into a 6×6 inch rectangle and fold the top third down. fold the bottom third up and over, pinching the seam closed. Now fold the top down in half and pinch the seam closed. Place the shaped baguettes on a floured couche or parchment paper, seam side up. Cover loosely with plastic wrap.
- Proof for 60-90 minutes, or until nearly doubled in size.
- Preheat your oven to 500 degrees with a baking stone or steel inside during the last 30 minutes of rising. Place a metal tray at the bottom of the oven for creating steam.
- Roll the baguette, seam side down, onto a pizza peel or thin board and score. Then gently transfer the baguettes to the preheated baking stone or steel. Pour 1 cup of hot water into the steam tray and quickly close the oven door.
- Bake the baguettes for 10 minutes. Quickly open the door to vent the steam then reduce the oven temperature to 450. Continue to bake for 10-15 minutes or until they are golden brown and sound hollow when tapped on the bottom. The internal temperature should read 200 degrees on a probe thermometer.
- Remove the baguettes from the oven and let them cool completely on a wire rack before slicing and serving.
Notes
- If you are not a fan of the earthier flavor Hard Red Wheat brings you can use just the Durum and Hard White. Use Hard White in the Poolish and 300g Hard White and 200g Durum in the dough. I would not recommend removing the Durum as the gluten development will be too low.
Nutrition Facts
8 servings per container
Serving Size121
- Amount Per ServingCalories236
- % Daily Value *
- Total Fat
138g
177%
- Sodium 113mg 5%
- Potassium 59mg 2%
- Total Carbohydrate
50.1g
19%
- Dietary Fiber 7.11g 26%
- Protein 9.67g 20%
- Calcium 20mg 2%
- Folate 19.6mcg 5%
* The % Daily Value tells you how much a nutrient in a serving of food contributes to a daily diet. 2,000 calories a day is used for general nutrition advice.
Pingback: Bruschetta- Classic Fresh Tomato Bruschetta - Grain to Table