
Learn how to maintain a sourdough starter made with freshly milled flour so it stays healthy, active, and ready for baking delicious artisan breads. Freshly milled flour is packed with natural yeast and nutrients, this makes it ideal for a robust, flavorful starter
Making and Maintaining A Starter
When making a Sourdough Starter, regardless of the flour you use, the process is going to be the same. You will mix equal parts water and flour and then feed it over the course of a few weeks until you see consistent doubling as the wild yeast kills off any bad bacteria. For a full breakdown on making your own sourdough starter, check out my article here.
Differences in Freshly Milled Starter
- Freshly milled flour is “thirstier,” often requiring higher hydration (more water) than store-bought flour. This may lead to a thick starter when fed with a 1.1.1 ratio
- Starters with freshly milled flour ferment more quickly, so watch for over-fermentation and adjust feeding schedules as needed.
- The flavor is more complex and earthy compared to starters made with refined white flour.
- Freshly milled flour can sometimes lead to a “false rise” in the first few days, which is normal and will stabilize with regular feedings
Why is Freshly Milled Starter so thick?
If you are familiar with sourdough starter using store bought flour you will quickly notice a difference in your freshly milled starter. Every grain has a different water absorption capacity. (read about it here) Most grains require more water then all-purpose, store bought flour. In all my recipes, I have converted the recipe to reflect the specific grains water absorption capacity.
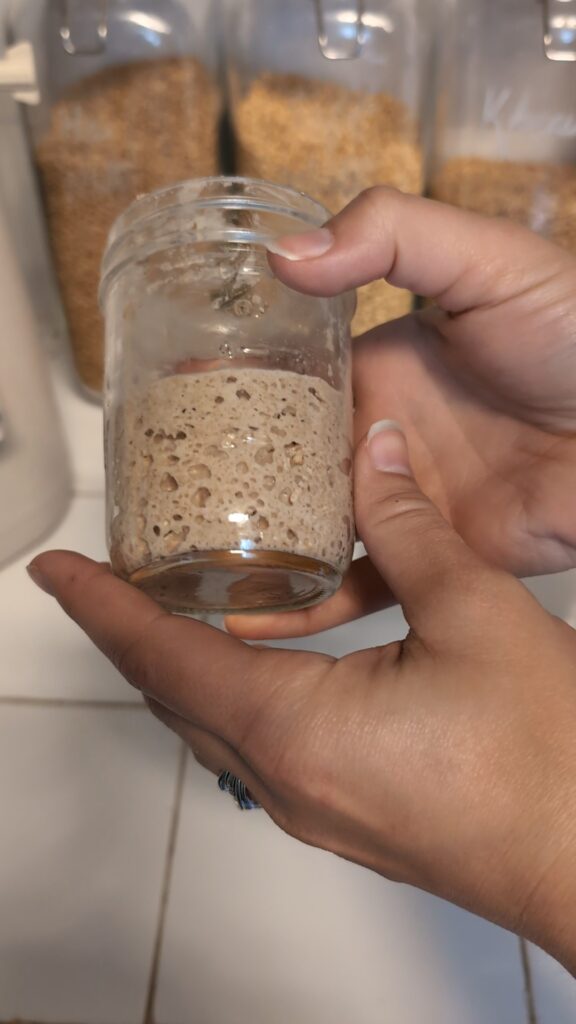
To keep things simple, I don’t adjust the ratio of water and flour when feeding my freshly milled starter. This will result in a thicker starter then you may be used to. I’ve found this to be very beneficial for my freshly milled starter. A thick starter is a method of combining the starter and water with a higher ratio of flour. This stiff starter gives the wild yeast more food and creates a very strong starter.
While we are not technically making a “stiff starter” it does act very similarly. This method, not only allows for simplicity, something I look for in recipes I plan to incorporate into my busy life. But also provides us with extra strength in the starter yielding better results. I still adjust the recipe to account for the water absorption of my grains, but the starter itself I feed with a 1.1.1 ratio. (Read more on ratios here.)
Because the starter is thicker, you will not see as dramatic of a fall after doubling. This is due to having a stronger structure.
What grain should I use?
For a freshly milled starter, the best grains to use are hard white wheat or hard red wheat. These wheat varieties have the highest gluten potential. Thisis important for developing a strong, active starter and for baking good sourdough bread later on.
- Hard white wheat is often preferred because it produces a milder flavor and lighter crumb. This makes it versatile for many bread types.
- Hard red wheat has a stronger, nuttier flavor and also works very well for sourdough starters and breads.
- While you can use other grains like spelt, kamut (khorasan), or einkorn. These tend to have lower gluten content, which may result in denser bread and a starter that behaves differently.
- Rye flour is sometimes used to boost starter activity because it contains more natural yeast and enzymes. Some bakers feed their starter rye flour occasionally to keep it lively.
In summary, for freshly milled flour sourdough starters, hard white or hard red wheat berries are recommended. They provide the best balance of gluten strength and flavor. This makes them great for maintaining a healthy, active starter and baking quality sourdough bread.
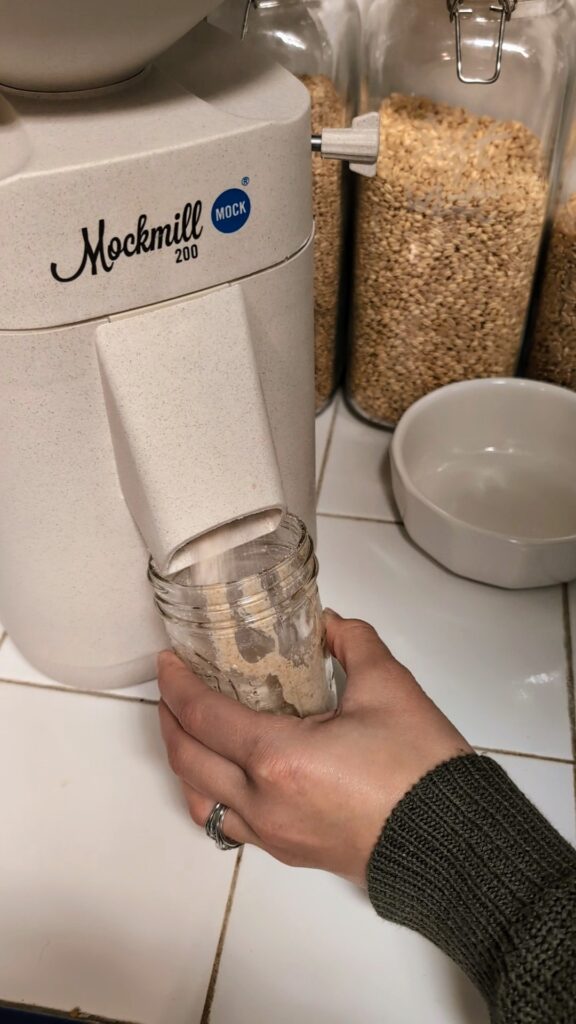
I use a half pint mason jar with a wide mouth for my starter. This works perfectly for maintaining 60g at a time and fits under my Mockmill 200 spout so I don’t have to dirty any other dishes.
Fermentation Differences
Starter:
Starters with freshly milled flour ferment more quickly, so watch for over-fermentation and adjust feeding schedules as needed.
When maintaining my starter, I typically feed once a day. If you notice the starter seems to be weak or not rising as fast as it should, You can boost it by feeding it twice a day until you see better rising.
Baking:
If you are following a recipe that calls for store bought flour, you will have to adjust two things. Hydration and Timing. (read about converting recipes here) Refer to the Choosing Your Grains page here to adjust the hydration based off the water absorption capacity in the grain you have chosen. Then you need to watch the fermentation carefully.
Fermentation goes faster with freshly milled flour because there is more “food” for the wild yeast to “eat”. I always recommend watching the dough, not the time. The first few attempts may not be perfect but with practice you will be able to tell based off the look and feel of the dough to know when it is fully fermented.
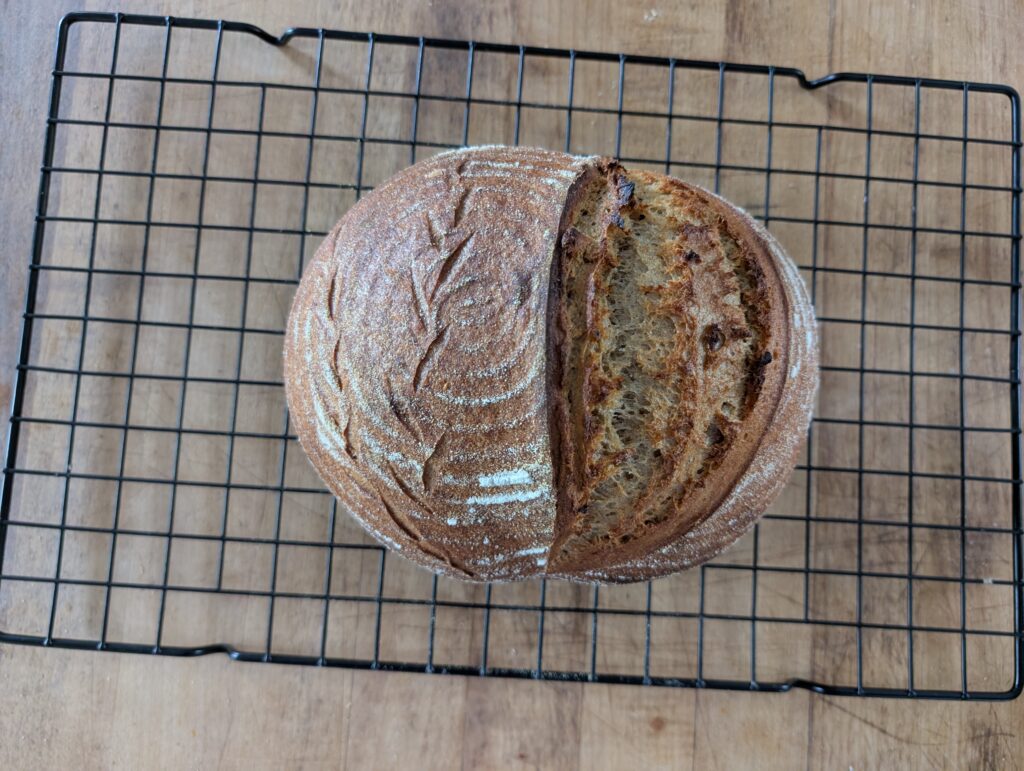
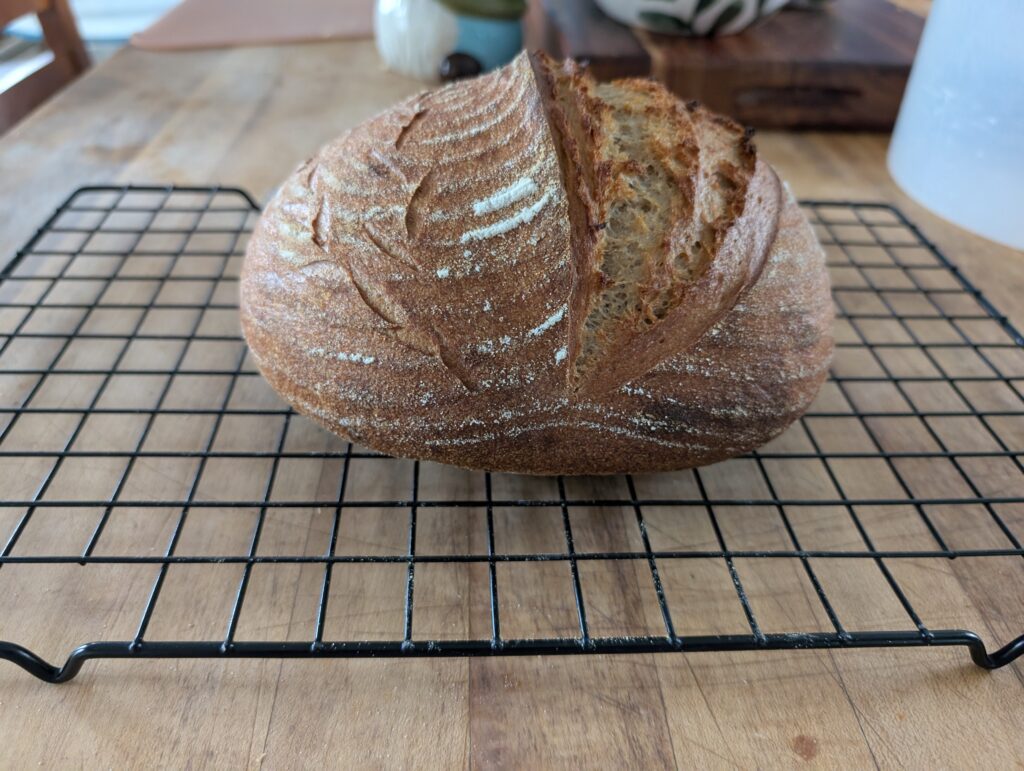
Here is my first attempt at a Rustic Loaf with Freshly Milled Flour. The bulk fermentation was going very fast and I ended up ending bulk fermentation too soon because I needed to run out. This resulted in a under-proofed loaf with a dense crumb. Point being, everyone make mistakes in the fermentation stage! Don’t beat yourself up for a bad loaf, simply turn it into croutons or bread crumbs and try again!
False Rise
If you are familiar with sourdough you may already know about the false rise when making a starter.
It’s day 3 and you see bubbles! You’ve done it! Time to bake!…
Unfortunately you have experienced a false rise. A false rise when making a sourdough starter refers to the initial, rapid bubbling and rising that often occurs within the first few days of starting a new culture. This early activity is not caused by wild yeast, but by a bloom of bacteria, primarily Leuconostoc species, which produce gas (CO₂) and create the appearance of an active, rising starter
During this phase (typically around Day 2 or 3), the starter may double or even triple in size and show lots of bubbles, but this is misleading because the wild yeast needed for sourdough baking has not yet established itself. The starter may also develop unpleasant odors, which is normal at this stage.
After the false rise, the starter often goes through a “quiet” period where activity seems to stall or slow down significantly. This is a normal part of the process as the initial bacteria die off and the wild yeast and beneficial lactic acid bacteria begin to take over. This is the stage I see people get discouraged and give up. Don’t thow your starter away! Give it time, and regular feeding and you should begin to see rising start again.
As a general rule of thumb, do not consume the discard or bake with the starter until AT LEAST day 10 and you see consistent doubling.
Get Started with your Freshly Milled Starter!
In conclusion, freshly milled starter is actually not that complicated. Sure, there may be some troubleshooting required but the only way to succeed is to get started and try! Feel free to comment below or find me on Facebook and Instagram if you have any questions. I am always happy to help you get started on you sourdough journey with freshly milled flour!
This is pure gold. Thank you for sharing your expertise.
Your writing style is so engagingI couldnt stop reading until the end. The information is valuable without feeling overwhelming at all.